Photoshop image stacking
There are a number of different ways to stack images in Photoshop CS6, I've found this method to be the fastest and it uses the least amount of PC resources.
The number of images you select at a time will be determined by the amount of available ram you have in your PC. I have 32gb and I work with about 80-100 images at a time (D800E 36mp 14bit RAW working in 16bit mode), the idea is to keep CS6 from using the scratch disk, which happens when all available RAM has been used.
If your system is low on RAM there area few things you can do to reduce the memory used by photoshop, you can read about optimising photoshop performance on the Adobe website.
The easiest way to monitor CS6 scratch disk usage is with the efficiency indicator at the bottom left of the screen. Click on the arrow and select 'efficiency' from the menu. If this number drops below 100% that means CS6 has used all available RAM and is now using a hard disk as virtual RAM.
Select your images in Bridge, hold down SHIFT and click on the first and last image you want in the selection.
Right click on one of the highlighted images and select 'open in camera raw'.
In camera raw click the 'select all' box at the top left, I apply auto white balance and a small saturation boost (do not apply lens correction here). Click done and you will be taken back to Bridge.
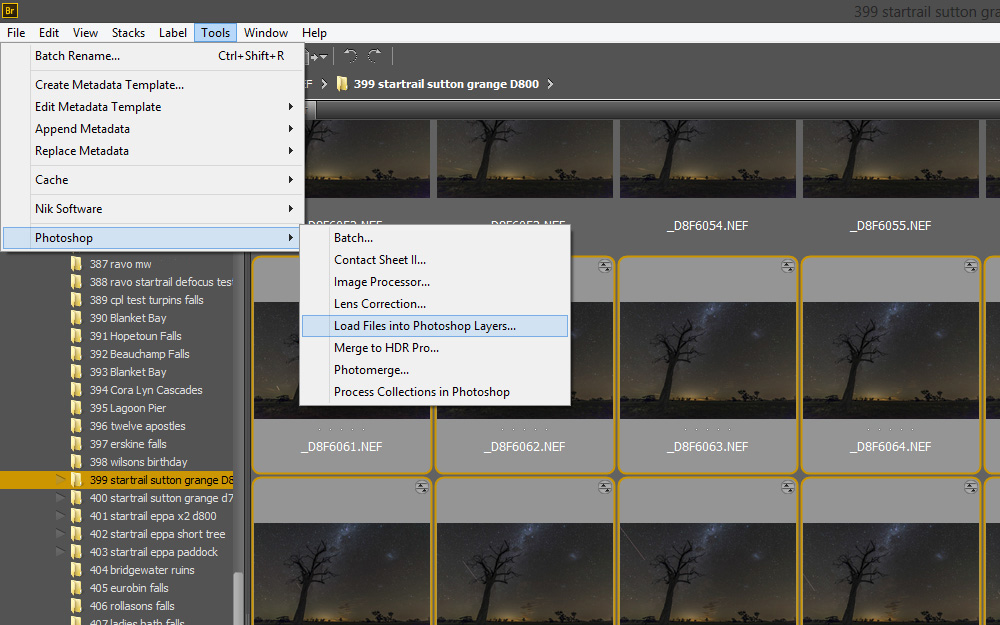
Now go to the menu bar at the top and select Tools>Photoshop>load files into Photoshop layers.
Loading the images into photoshop can take a while, especially if the images are stored on a mechanical hard drive, storing them on an SSD makes the whole process go a lot quicker.
When they are finished loading, hold down the SHIFT key and click the first and last layer in the stack to select all the layers, now go to the drop down menu at the top of the layers pallete and select 'lighten'.
The images are now stacked but we have some unwanted trails from planes flying through the scene.
To remove these we need to go through the layers one at a time and paint over them using a small black brush. Start by holding ALT and clicking the eye icon next to the top layer, this will show that layer and hide all the other layers.
Make the brush size just big enough to cover the trail, then paint over it. Try not to paint out any bright stars when doing this, although you can use the spot healing brush later on the stacked image to fill in any gaps caused by painting over stars. The black lines will not be visible once we enable all the other layers.
Now ALT click the eye icon on the next layer, this will select the layer and hide all others, paint over the trail, keep repeating this until you've done all the layers. This process can take a very long time, I live to the north of an international airport and I usually end up with between 600 and 1100 images for a startrail shoot, usually around half of them will contain plane trails.
When you get to the last layer, right click on the eye icon and select 'show/hide all other layers', all layers should now be visible and the plane trails removed.
Flatten and save the image, now go back to bridge and start over again with the next batch of images. When finished you can now stack all the flattened images together, flatten & save. If you want to use lens correction open the final stacked image in camera raw and apply it.
After some final editing you should end up with something like this:


